
I'm gearing up to make a new video. It's been too long. I have to admit that I have been stalling, because I didn't think that we had the technology to make the type of video that I want to do next. In order to demonstrate different stitches on fabric we need a pretty specific lens for the camera, one that can get footage of tiny stitches while staying in focus. John (my super husband/camera guy) has experimented with a few different filters so as to save some money, but none of them have really achieved the type of shot that I am looking for. So, I decided to move on to Plan B. If you can't get a good, in focus shot of tiny fabric, why not make the fabric bigger? Genuis, you say? I thought so, too, until I started this project from hell:
Creating 4 Count Fabric from Scratch:
Part 1: I started with a very sturdy frame that I have had in my closet for years. In a former life I did custom framing, and this (actually gorgeous) frame was a mis-measure, so it couldn't be used for the project it was intended. I brought it home thinking I would eventually find the perfect piece of artwork to frame.
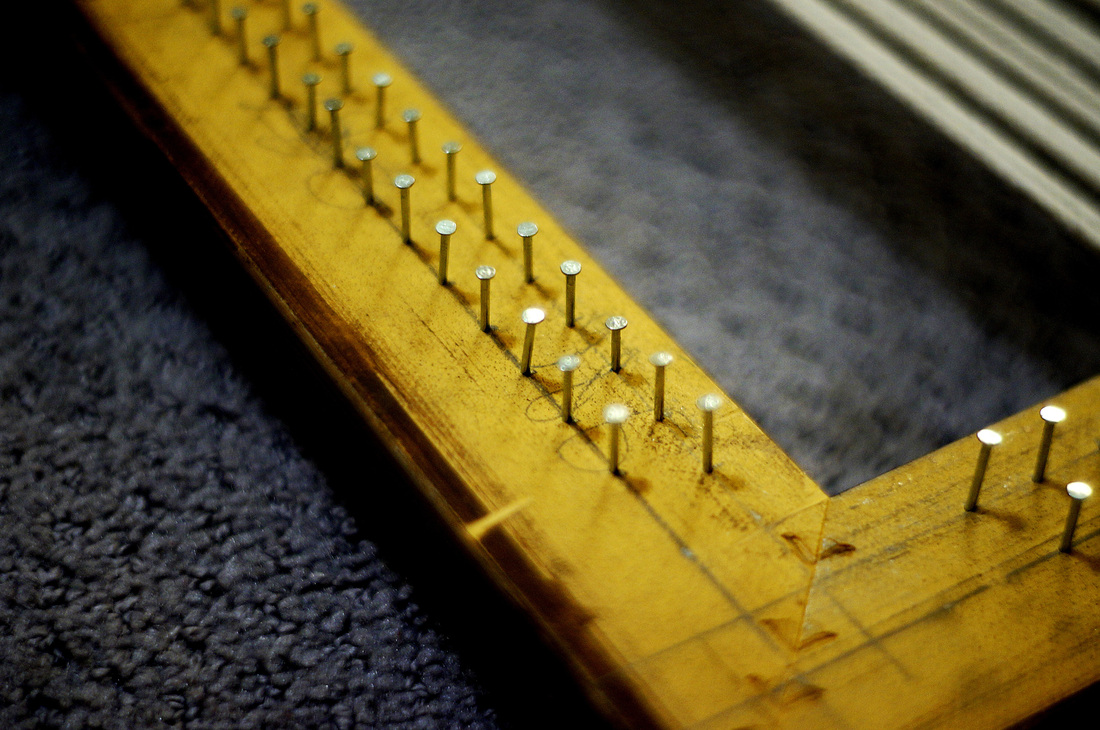
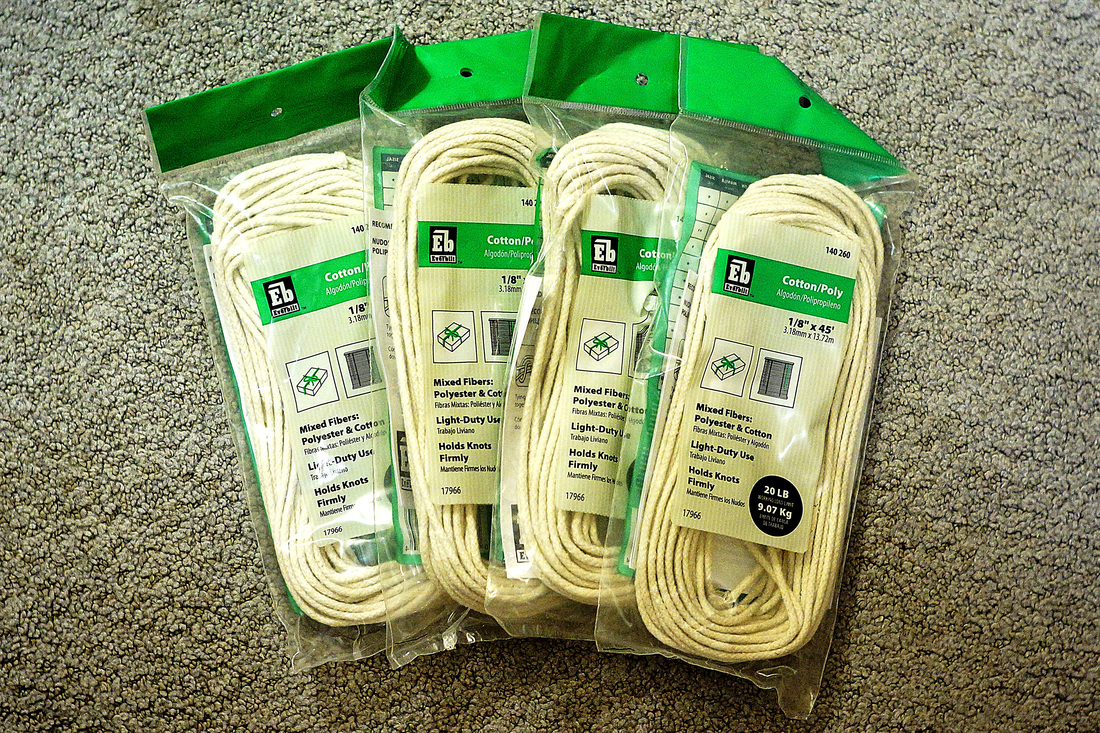
A trip the hardware store supplied me with nails and rope - the only other things i needed to make my project. I essentially turned my frame into a loom.
In order to make a 4 count fabric I needed to measure out my frame to put a nail in every quarter inch. I'll explain this in the video, but 4 count fabric means there would be 4 stitches/inch - so I need a thread every quartet inch. The nails are staggered on two different rows so as not to put too much strain on the wood of the frame, and to make the weaving a little easier.
Creating 4 Count Fabric from Scratch:
Part 1: I started with a very sturdy frame that I have had in my closet for years. In a former life I did custom framing, and this (actually gorgeous) frame was a mis-measure, so it couldn't be used for the project it was intended. I brought it home thinking I would eventually find the perfect piece of artwork to frame.
A trip the hardware store supplied me with nails and rope - the only other things i needed to make my project. I essentially turned my frame into a loom.
In order to make a 4 count fabric I needed to measure out my frame to put a nail in every quarter inch. I'll explain this in the video, but 4 count fabric means there would be 4 stitches/inch - so I need a thread every quartet inch. The nails are staggered on two different rows so as not to put too much strain on the wood of the frame, and to make the weaving a little easier.
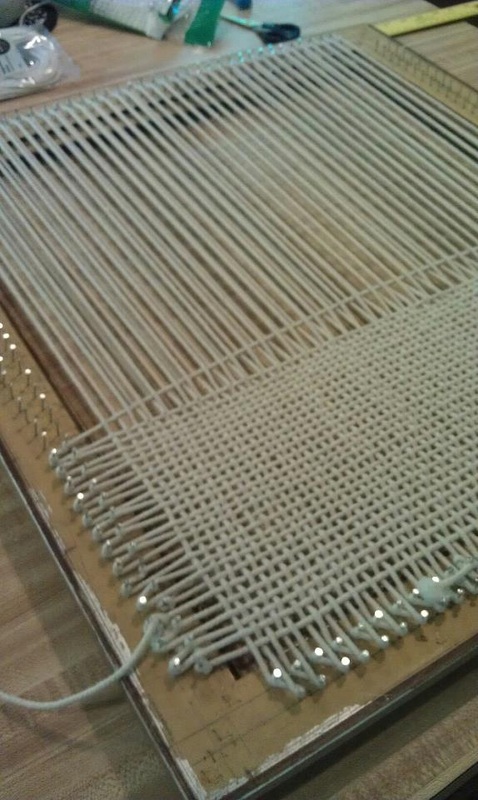
Part 2: Once I had all of the nails in place, which, by the way, required a second trip to the hardware store to get another pack of nails, I set up the vertical strands of my fabric. This part didn't take long at all, because I just kept going back and forth. My efforts would prove to be ineffective, though, because my tension (tension is always my enemy) was way too tight.
Part 3: I began to weave the horizontal strands into the vertical strands. This took more time, but was ok at first. However, I quickly began to run into problems. First, the rope that i chose (1/8th inch diameter) was really too thick for the count of fabric. It was nearly impossible to pull it down far enough to fill 4 strands/inch. John even made me a special tool to help to set the thread in place, but even that was tough on my upper arms, fingers, and abs. Second, the tension in the vertical threads got tighter and tighter the further I went in the weaving. I could barely lift them to weave the strands under and I was only a quarter of the way through the project. Finally, I was VERY quickly running out of rope.
Part 3: I began to weave the horizontal strands into the vertical strands. This took more time, but was ok at first. However, I quickly began to run into problems. First, the rope that i chose (1/8th inch diameter) was really too thick for the count of fabric. It was nearly impossible to pull it down far enough to fill 4 strands/inch. John even made me a special tool to help to set the thread in place, but even that was tough on my upper arms, fingers, and abs. Second, the tension in the vertical threads got tighter and tighter the further I went in the weaving. I could barely lift them to weave the strands under and I was only a quarter of the way through the project. Finally, I was VERY quickly running out of rope.
Part 4: I went to bed frustrated and woke up knowing that I would basically need to start over (alas, you may now shed a tear for my previous hours of hard labor). I took the whole thing apart (except for the nails) and re-strung the vertical threads with a tension that was much looser. I began again on the weaving of the horizontal strands, only to find that the going was just as tough, and I made it a 3rd of the way (instead of just a quarter) until the tension was again too taut. Ugh.
Part 5: The perfectionist in me was defeated, as was my spirit. John could tell that I was frustrated, too. The thing is, I REALLY needed this thing as a tool. I refused to, again, waste hours of hard work by starting over so I made a compromise. I cut every strand of the vertical threads and knotted-on several extra inches so that along the way I could vary my tension if I needed to. In the finished project you can see my knots on one side of the fabric. I'm calling it the selvage, and no one can stop me ;-). I also compromised by *gasp* not making it exactly 4 count fabric. I skipped a few nails here and then so as to save my poor fingers from ever-earlier arthritis. You can maybe see in the fabric where my spirit was crushed and I began compromising my perfection, but I think it adds to the charm of the whole thing. Again, no one can say I'm wrong ;-).

Part 6: My back hurts, I have matching black and blue marks on the front of my hips, my poor husband and son finally have me back in their lives, I'm probably only out about $40 (I haven't checked my 40million Home Depot receipts to add it all up yet), and I have a usable stitching tutorial video prop! I call that a success, despite some major set-backs.
If you are going to attempt a project like this (and don't let me discourage you, because I can see some major potential for this as an art/textile project) I would say start with your vertical strands on varying tension. This means knotting EVERY strand at the top and leaving some slack for later on. Do a much smaller test version to make sure that the diameter of the rope/thread you choose is appropriate for the count of fabric you are attempting. Choose a VERY sturdy frame; the tension on these things I liken to an old fashioned bed. It is VERY taut, and I'm sure is putting a lot of strain on the wooden frame.
For now I am going to use this thing as a teaching tool. Down the road I may take one my favorite cross stitch patterns and make a super-sized version to hang somewhere and admire. If you decide to make one, you could also latch-hook it or, I don't know, unframe it and use it as a pot holder? Seriously, the possibilities are endless!
 RSS Feed
